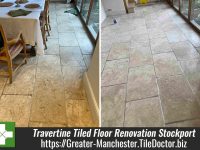
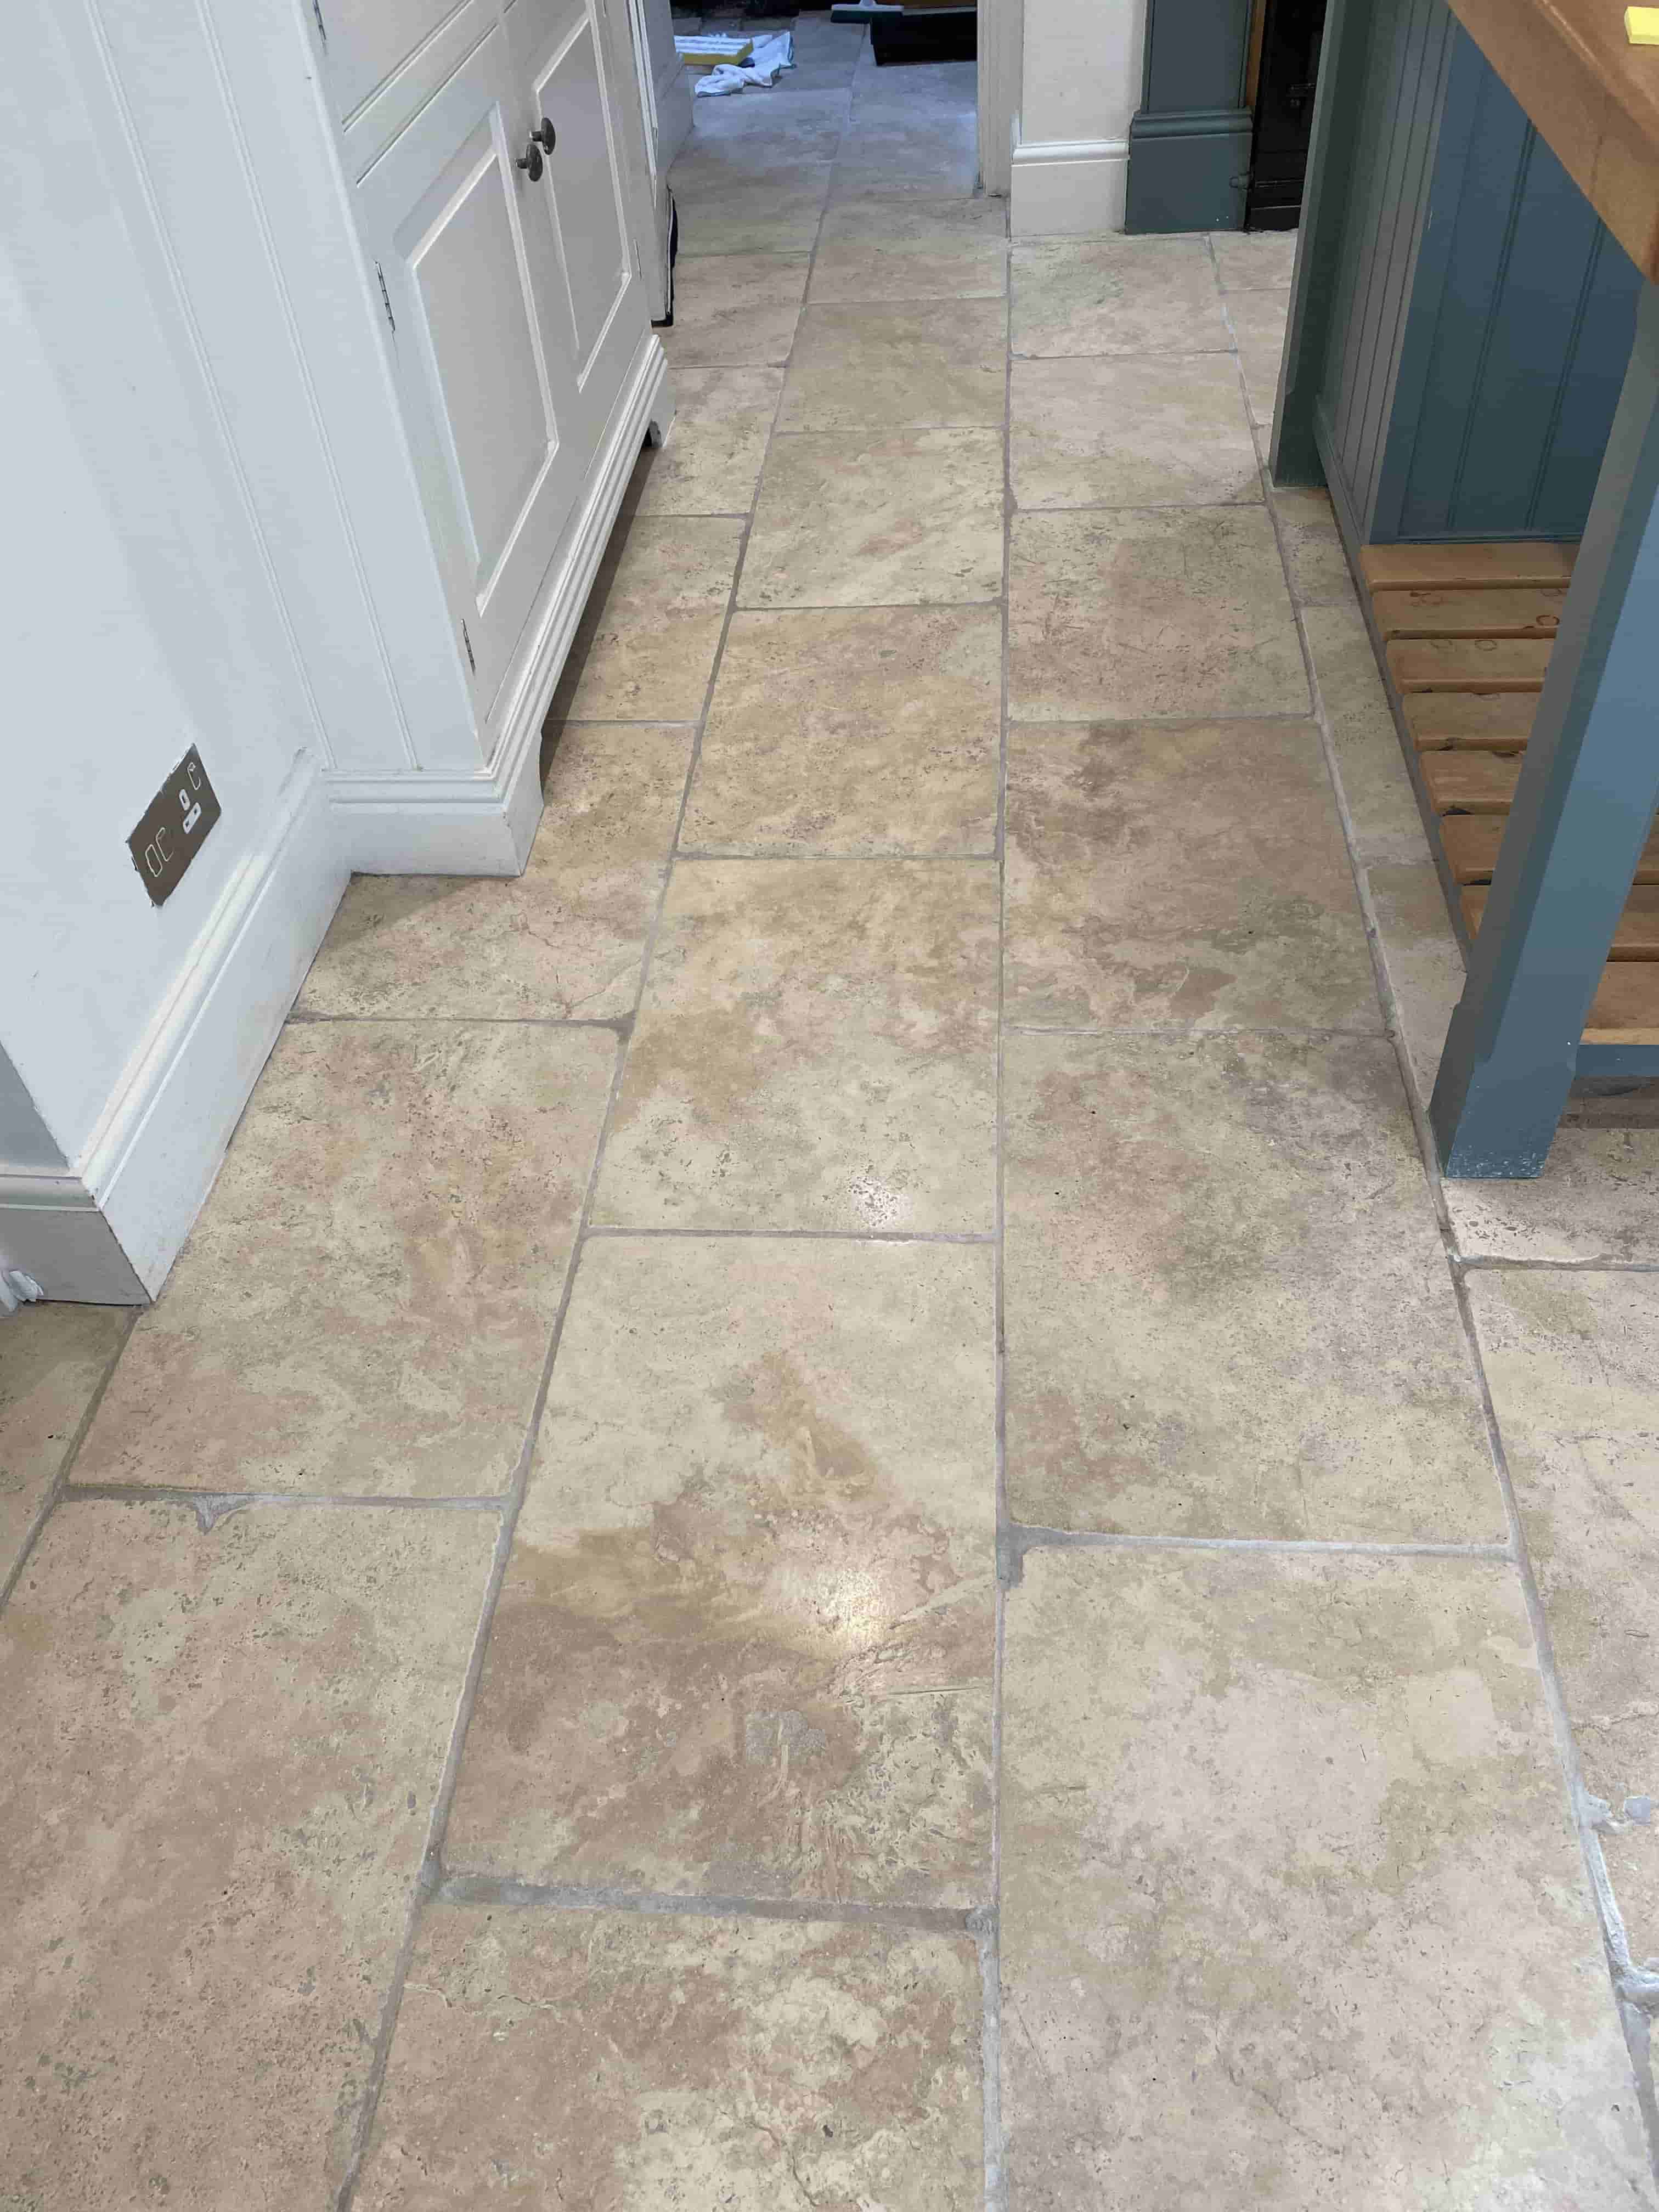
This client was from Stockport and had a travertine tiled floor laid over twenty years ago through the kitchen and adjacent dining space. The floor had the usual issues for travertine with dirt collecting in the small pits in the stone and becoming ingrained in the pores due to the sealer wearing off. The owner was talking of ripping the whole floor up as they had given up trying to keep it clean.

I recommended deep cleaning the floor with a set of burnishing pads to remove the ingrained dirt, filling in the worst pits and then sealing the stone. My quote was a little more than they were expecting but they appreciated the fact there was a lot of work to do and that the diamond encrusted abrasive pads required are quite expensive. On balance obviously it was cheaper than replacing the floor. We also discussed the final appearance of the stone floor; they wanted the stone to look as natural as possible keeping the colour light with just a slight sheen.
 |  |
Deep Cleaning a Travertine Tiled Floor
Work started on the agreed date with an application of Tile Doctor Pro-Clean which was diluted 1 part cleaner to 5 parts water and sprayed onto the floor. After letting it dwell for ten minutes it was worked in and followed up with an abrasive 120-grit silicon carbide pad attached to a floor buffer fitted with added weights to increase traction. The dirt released from the floor was then rinsed off with water and extracted with a wet vacuum.
The stone was then burnished using the coarser pads from the set of burnishing pads that I mentioned earlier. I started with the 400-grit on the weighted floor buffer and worked it into each of the travertine tiles using only water for lubrication. The pads get the ingrained dirt out of the stone, bringing it to the surface where it is rinsed off with water and then extracted again with the wet vacuum. This process was then repeated with the finer 800-grit pad which is the first step in polishing the surface of the stone.
The last step on day one was to review the travertine, identifying and filling the worst of the pits with a specialist filling compound that would harden overnight.
Sealing a Travertine Tiled Floor
On arrival the next day my clients said they loved the results so far and were relieved their problem floor was finally going to be resolved.
I started day two with the application of the third burnishing pad which is 1500-grit. This was applied using the same method, running it over each tile around three times using only water for lubrication. This third pad gave the stone the natural sheen they were after. For highly polished stone I would follow this up with a fourth pad which is 3000-grit however for this floor it wasn’t necessary.
Once the floor was dry it was then sealed with Tile Doctor Ultra-Seal which in an impregnating sealer that adds almost invisible protection to achieve that natural light appearance they wanted. Impregnators work by seeping into the stone, occupying the pores so dirt can’t become ingrained there.
 |  |
My clients were very happy with the result saying how I had made a real difference and how well it looked, in fact they didn’t want anyone to walk on it just in case. I recommended they used Tile Doctor Stone Soap for everyday cleaning. It’s a mild but effective cleaner that will help maintain the appearance of the stone without impacting the sealer which can be harmed by stronger cleaning products.

They also left the following comment on the Tile Doctor feedback system.Amazing job. Our floor has never looked so good. Its better now than when first laid. Kevin was very professional and careful and meticulous in his restoration work.
Source: Stockport Tile Cleaning and Renovation Services in Cheshire